You can secure a new dedicated server in about fifteen minutes, and the first two steps do most of the work. Everything below is in the order it should be done.
Before you start
You need the server's IP, the root credentials from your handover email, and an SSH client. The commands below assume a fresh Debian 12 or Ubuntu 22.04/24.04 install; on other distributions the package names change, the steps do not.
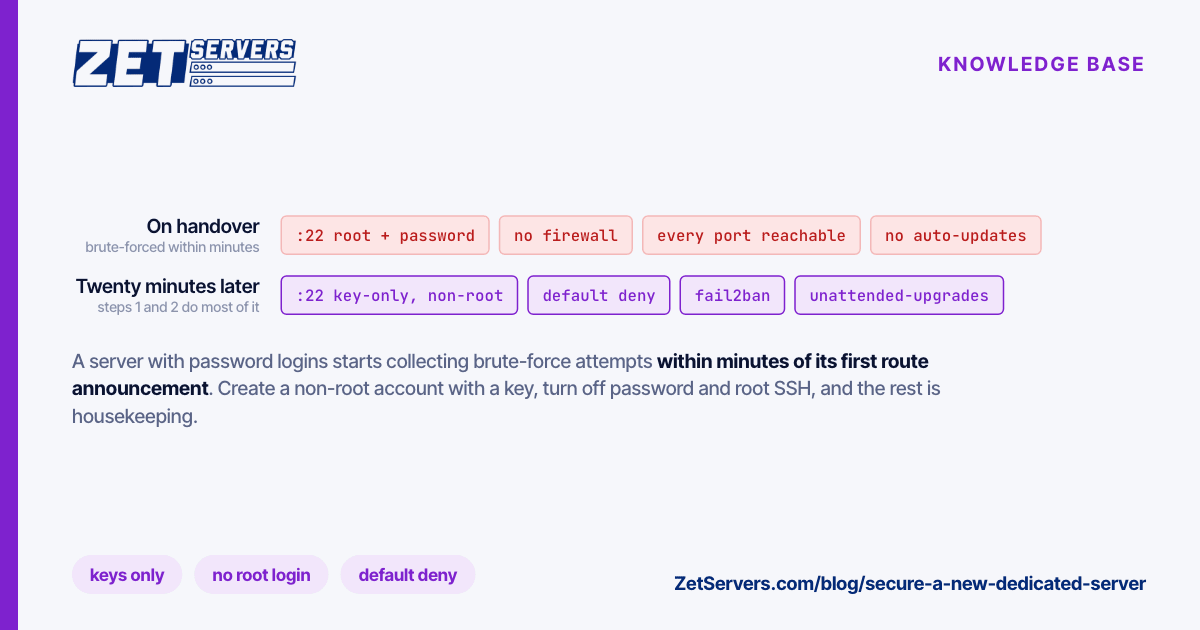
Do these in order. Steps 1 and 2 are the ones that matter — a server exposed to the internet with password logins enabled starts collecting brute-force attempts within minutes of its first route announcement.
1. Create a login that is not root
Log in once as root, create your own account, and give it sudo:
ssh [email protected]
adduser deploy
usermod -aG sudo deploy
From your workstation — not the server — copy your public key over. If you do not have one yet, ssh-keygen -t ed25519 makes it:
ssh-copy-id [email protected]
Now open a second terminal and confirm that ssh [email protected] works without a password and that sudo -v succeeds. Do not continue until it does.
2. Turn off password logins
Keep that verified session open. Create /etc/ssh/sshd_config.d/10-hardening.conf:
PermitRootLogin prohibit-password
PasswordAuthentication no
KbdInteractiveAuthentication no
Then reload the daemon and test from a third terminal before closing anything:
sudo sshd -t && sudo systemctl restart ssh
sshd -t parses the config and refuses to proceed on a typo — it is the difference between a restart and a lockout.
Why the 10- prefix: files in sshd_config.d are read in lexical order and, for most keywords, sshd keeps the first value it obtains. A cloud image that ships 50-cloud-init.conf with PasswordAuthentication yes will not override a 10- file. Name it the other way round and your hardening silently loses.
3. Close everything you are not using
A default-deny firewall is the cheapest security control you will ever configure:
sudo apt install ufw
sudo ufw default deny incoming
sudo ufw default allow outgoing
sudo ufw limit 22/tcp
sudo ufw enable
Allow SSH before you enable it. ufw limit accepts new SSH connections but rate-limits an address that retries too often. Add your service ports as you install them — sudo ufw allow 443/tcp — rather than opening ranges up front.
4. Let security updates install themselves
sudo apt install unattended-upgrades
sudo dpkg-reconfigure -plow unattended-upgrades
This applies security updates only. Kernel updates still need a reboot to take effect, so schedule one, or install needrestart to be told which services are running on old libraries.
5. Look at what is actually listening
ss -tulpn
On a clean install you should see very little:
| Port |
Process |
Keep it? |
| 22 |
sshd |
Yes |
| 53 |
systemd-resolved on 127.0.0.53 |
Yes — local resolver only |
| 25 |
postfix on 127.0.0.1 |
Yes if bound to loopback |
| Anything else |
— |
Investigate before it stays |
Anything bound to 0.0.0.0 that you did not install on purpose is the first thing to fix. Databases in particular ship with wide defaults in some images: bind them to 127.0.0.1 unless a remote host genuinely needs them.
6. Two things people skip
- Reverse DNS. If the server sends mail, set a PTR record that matches its hostname — mail from an IP without matching rDNS is filtered aggressively. The PTR is set by whoever owns the IP block, so open a ticket for it.
- A way back in. Find out now how you would reach the machine with SSH broken — out-of-band console, rescue mode, or a support ticket. Discovering the answer during a lockout is the expensive version.
Frequently asked questions
Do I still need fail2ban after disabling passwords?
Not for SSH — with key-only authentication there is nothing to brute-force, and a rate-limited port takes care of the noise. It is still worth running in front of application logins (mail, panels, web apps) where credentials are the only gate.
Should I move SSH off port 22?
It cuts log noise, not risk. Automated scanners sweep every port. Do it if the quieter logs help you spot real events, but do not treat it as a security control.
Is a firewall necessary if nothing is listening?
Yes, because "nothing is listening" is a statement about today. The firewall is what makes tomorrow's careless apt install a non-event.
Next steps
Once the machine is locked down, confirm you are getting the line you paid for — how to verify your port speed walks through the measurement and the kernel settings that cap a multi-gigabit link. More material like this lives in the knowledge base.